

Groups are only available on Lightdash Cloud Pro and Enterprise plans.For more information on our plans, visit our pricing page.
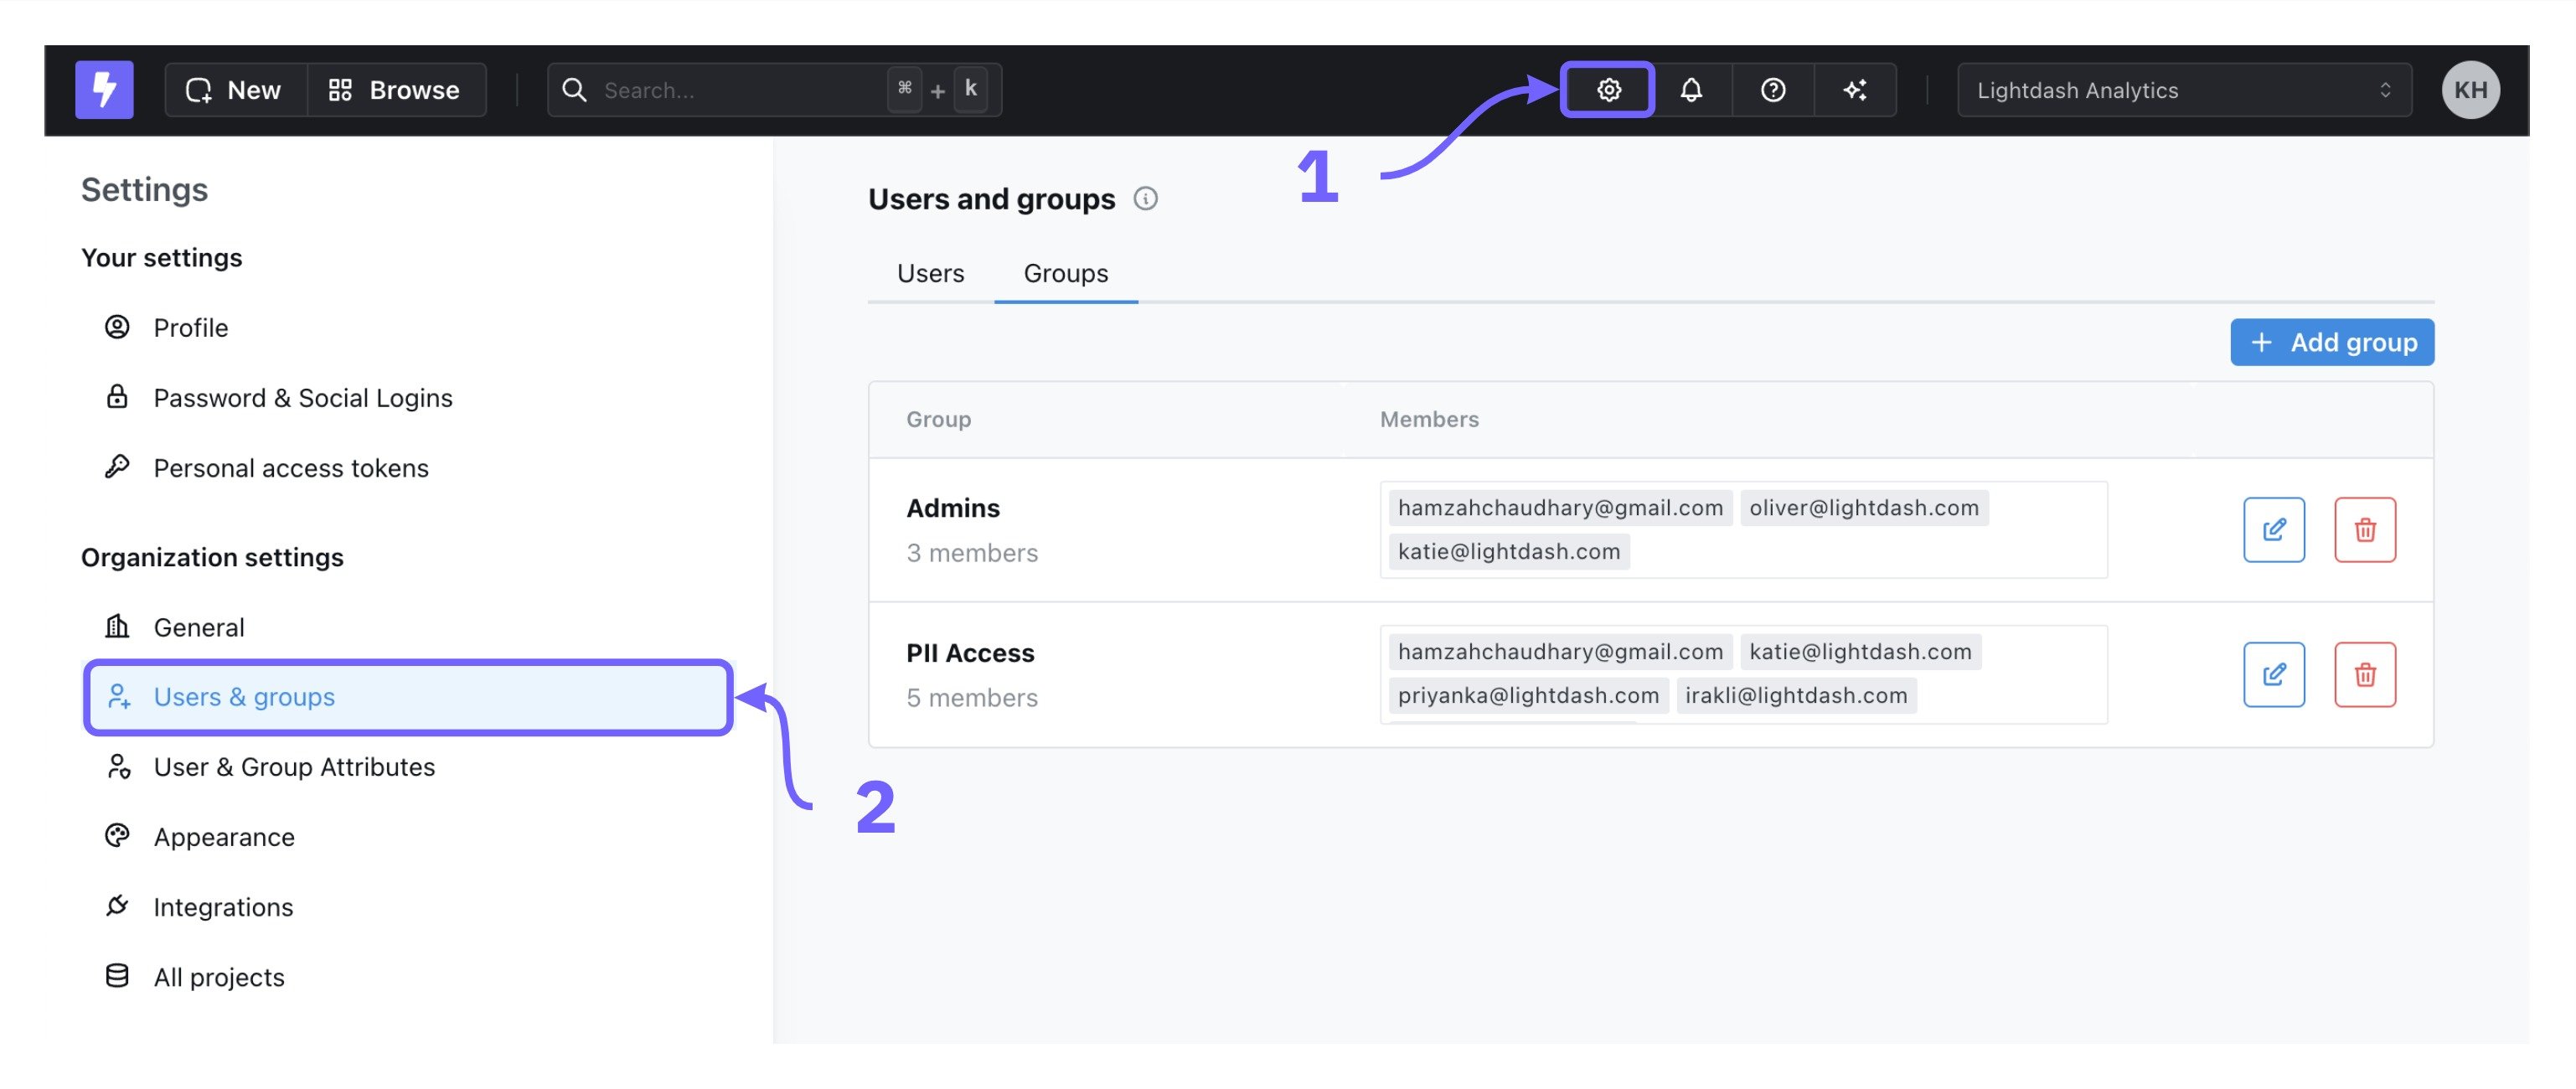
Organization Settings > Users & groups tab. Only users with an organization admin role can manage groups.
Creating groups
To create a new group, go toOrganization Settings > Users & groups > Add group. You can name your group and add users in your organization to the group. By default, newly created groups don’t have access to anything.
Editing groups
To edit a group, click on the edit button to the right of a group in the list. You can add or remove users from a group and change the group name. To remove someone from that group, click on thex to the right of the group member.
Deleting groups
To delete a group, click the delete icon to the right of a group in the list to remove it.Adding roles to groups
To assign a role to a group, use theProject access page in the Organization settings menu. From there, you can assign a group or groups to a role which determines their access to the project. For more information, see the Project roles page.